Why? Link to heading
Self-hosting instant messaging looks fun.
Goal Link to heading
Using XMPP clients on phones and computers to communicate through our self-hosted solution.
Transit encryption is a must, end-to-end encryption is a nice bonus.
One-on-one voice and video calls are a must.
Who Is This For? Link to heading
People already running certbot 📄🤖 + nginx on their Linux server.
My Setup Link to heading
Openfire will run on a server already used for webhosting. A VPN connection to the server is recommended for admin panel usage.
- VPS
- Public IPv4 address
- Domain resolving to said IPv4 address
- Debian 13.2 (Debian Trixie)
- OpenJDK’s Headless Java 21 Runtime Environment
- nginx
- certbot
Prerequisites Link to heading
We’ll install the required packages.
sudo apt update
sudo apt upgrade -y
sudo apt install -y wget nginx certbot python3-certbot-nginx openjdk-21-jre-headless default-jre
On our machine, we’ll download a plugin for Openfire called “certificatemanagement”.
Downloading and Installing Openfire Link to heading
On the server, latest version of Openfire should be used.
sudo apt update
wget https://github.com/igniterealtime/Openfire/releases/download/v5.0.3/openfire_5.0.3_all.deb -O openfire-5.0.3.deb
sudo dpkg -i openfire-5.0.3.deb
Go through the installation steps. All the defaults are sane except disabling outside connections.
Configuring Openfire Link to heading
If you’re accessing your server through a VPN, enable the whitelist for admin console access.
Here’s my configuration:
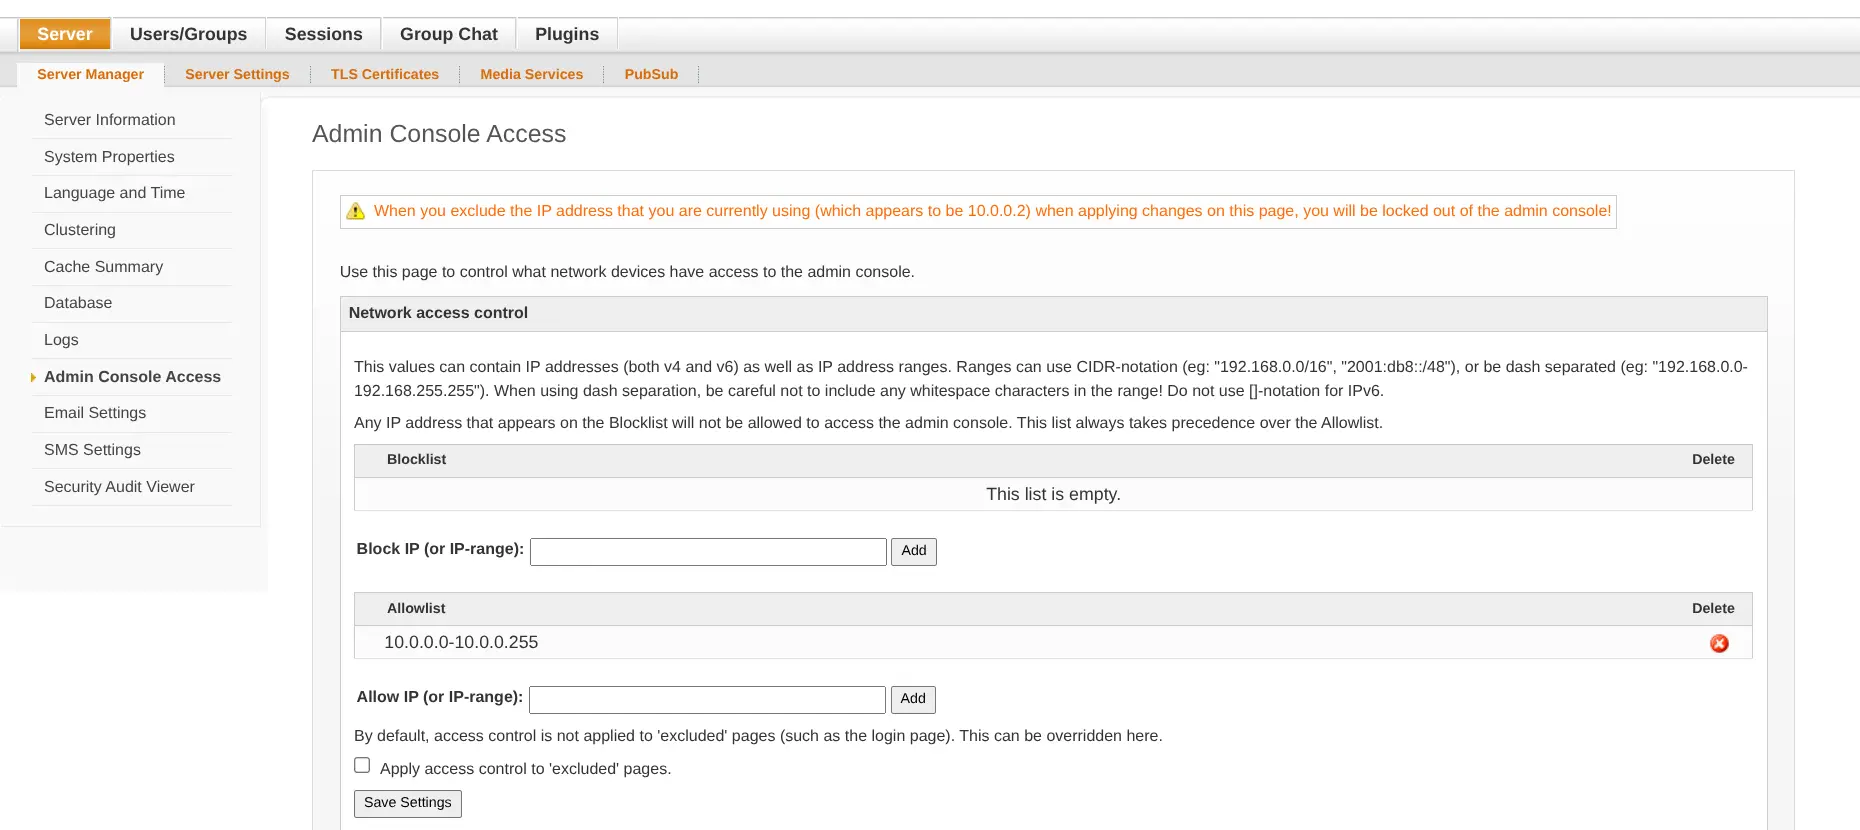
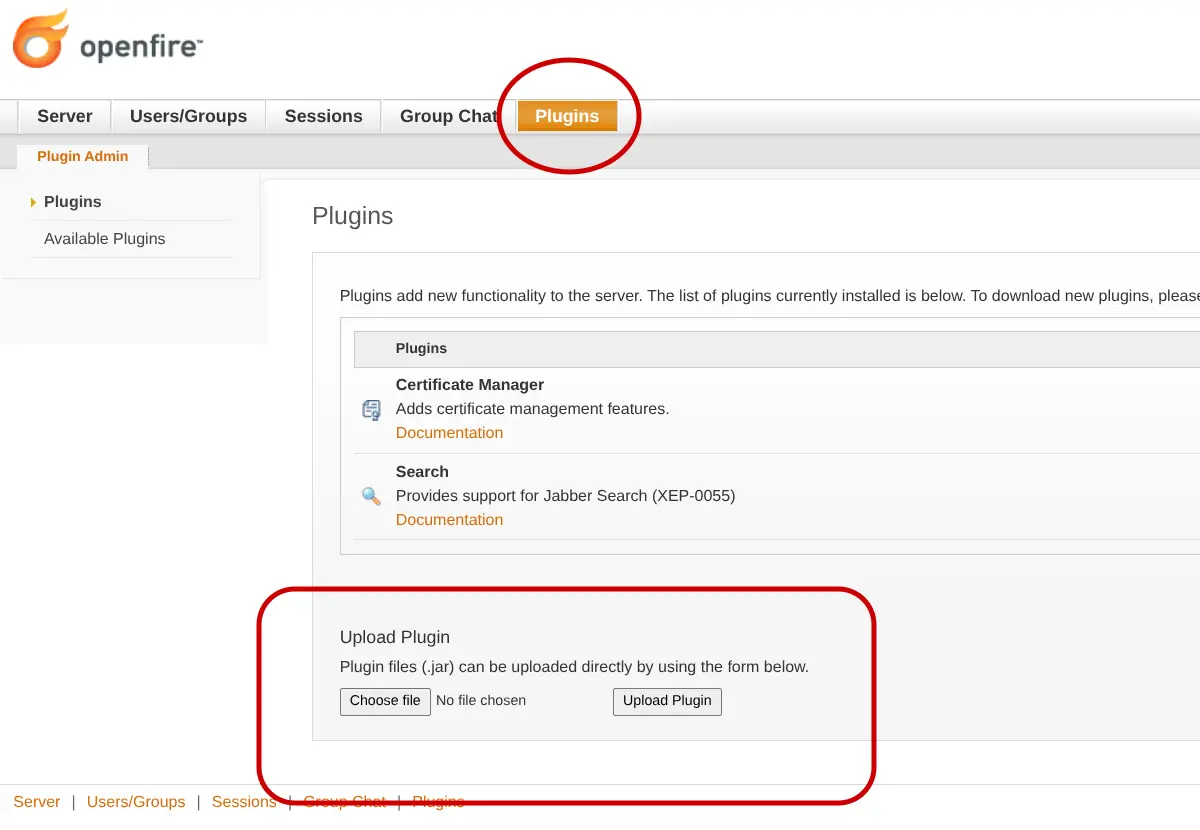
Go to the plugins tab and upload the certificate manager .jar we downloaded beforehand.
Now, we’ll improve our security and enable a feature.
- Go to ‘Server’ -> ‘Server Settings’:
- client connections -> plain-text connections, advanced configuration -> STARTTLS Policy (x) required
- server to server -> plain-text connections, advanced configuration -> STARTTLS Policy (x) required
- server to server -> allowed to connect -> white list (DISABLES FEDERATION)
- external components -> plain-text connections, advanced configuration -> STARTTLS Policy (x) required
- Web Binding -> Web Binding Settings -> Enabled, Port: 0 (keep the TLS port default)
- Registration & Login -> Inband Account Registration -> Disabled
- Go to ‘Server’ -> ‘Media Services’:
- Media Proxy -> enabled
Configuring Certbot to Deploy Valid Files to Openfire Link to heading
Get the script I wrote from the github gist page or codeberg repo.
You can download and install it with:
sudo wget https://codeberg.org/yigib/snippets/raw/branch/main/certbot-hook-openfire-certificatemanager.sh -O /etc/letsencrypt/renewal-hooks/deploy/openfire.sh
sudo chmod 700 /etc/letsencrypt/renewal-hooks/deploy/openfire.sh
Using your favourite text editor, edit the script for your domain. If you already have a valid certificate for the domain and want to test out the deployment, run this command below. Certbot will deploy without renewing any certificates.
sudo certbot reconfigure --run-deploy-hooks --cert-name DOMAIN.TLD
Congratulations! 🥳🥳🥳 Link to heading
You’ve successfully installed openfire with automatic certificate renewals!
Now we can add users and groups from the respective tabs. Make sure to pick secure passwords for users. Enabling group members to add each other as contacts automatically can streamline on-boarding users, especially if they aren’t tech savvy.